The next step in the completion of the body of the guitar is the dreaded "
bending of the sides." I say that because I think that I have been more afraid of this step than any other. Everything that I know about wood tells me that it's not suppose to bend and it's sure not supposed to get wet. But all the books and videos seem to reassure me that it's not a big deal. Well wer'e about to find out. In my research most of the information suggests a jig that is used to hold the bent pieces while they cool and dry. In the bending instructions on the StewMac website there is a picture of a simple two sided rack made from MDF and dowel rods. Before I start bending, I need to build something like that to hold the bent sides. I started with a piece of 3/4" MDF large enough to accommodate half the body size. I used my original template and traced the guitar shape on each side so I could place the dowel rods above and below the line to hold the bent sides between the dowels. I marked center positions above and below the traced line and drilled 3/4" holes with a forstner bit. I also cut another piece of MDF to use as the base. I glued the upright piece of MDF to the base and secured it with several biscuit joints. While the base and upright glue was drying I cut 3/4" dowel rods into 8" lengths. I put a little glue on the center of each dowel rod and inserted them into the drilled holes on the upright MDF. Simple and easy construction and it should hold two bent sides.
 |
| Finished bent side holder. |
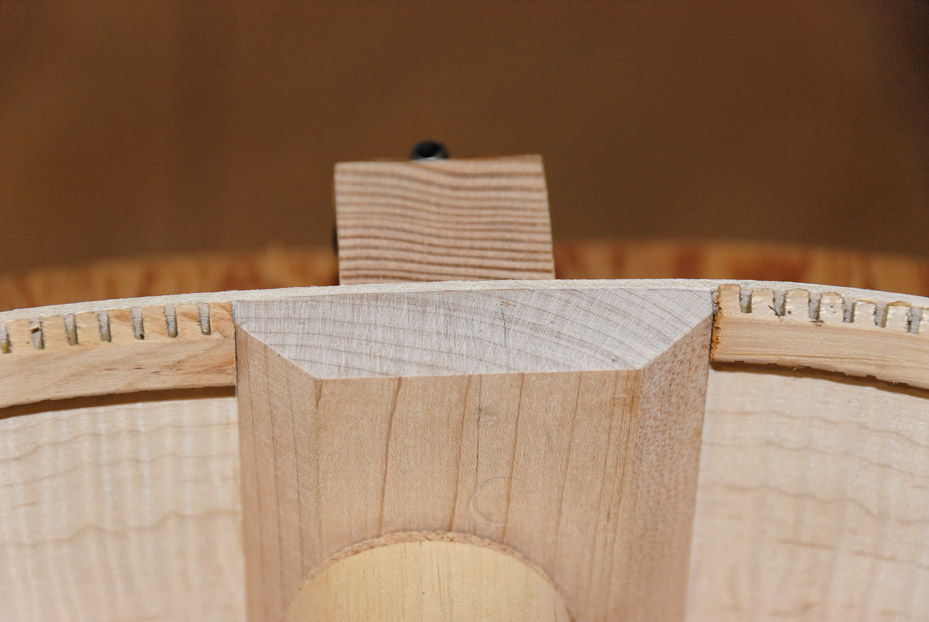
 |
| End view showing both sides. |
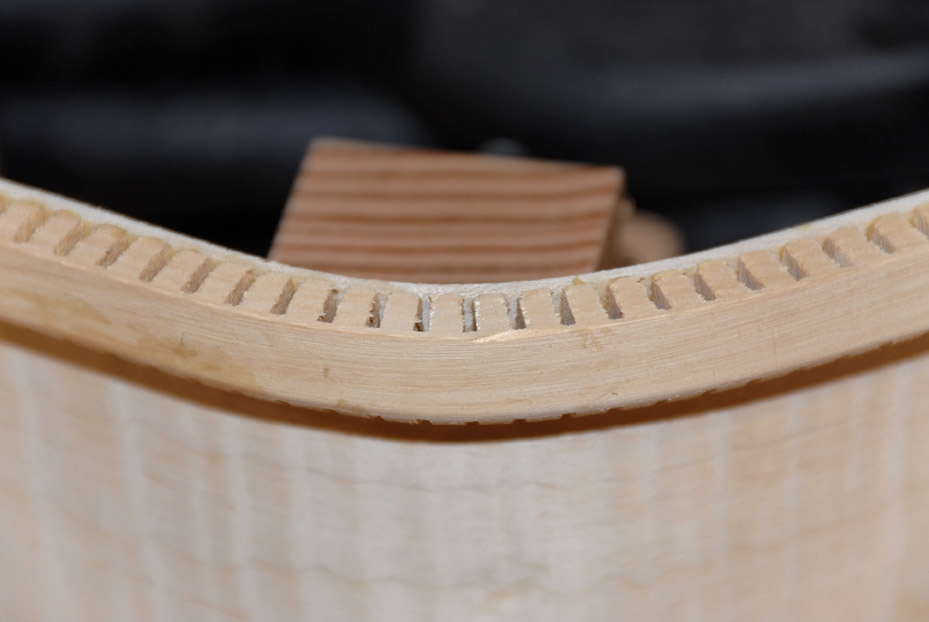
 |
| Details showing template line. |
OK, I guess I've stalled as long as I can, let's start bending. One of the first tools that my son, Brenan gave me was an electric bending iron. This is basically a pipe with a closed end mounted on a wood base. The pipe is wired with a thermostat so the pipe heats up and the temperature is controlled by the thermostat. The idea is with moisture and heat to create steam that softens the fibers of the wood allowing you to slowly bend the wood to the desired shape.
Simple right. . . let's see. I literally spent hours and hours, days and days researching this process. I watched at least a dozen videos and read and re-read all my books. I finally decided to go with the instruction sheet that came from StewMac. It said to soak the wood in hot water in a shallow trough or the bath tub. It said that different woods needed to soak different lengths of time and it said that some woods didn't need to be soaked at all, just spritzed with water from a spray bottle. It suggested for maple, the easiest bending wood, that a soaking time of 30 - 45 minutes should be all right. It said and I quote, "It's hard to over-soak plain straight grained woods." I had purchased some practice bending sides from StewMac with the idea that I would practice with these and if they turned out I would just use them on this first guitar. The critical part I missed in the catalog was that these practice pieces of wood were exactly the same wood, the same thickness and width as the sides that came in their back and sides packages
but not the same length. The first step before bending was to measure your template with a flexible rule or a piece of string and transfer the overall length and where the bends would be onto each side.
Opps these sides were too short,
dang! More delay, I decided to look locally to find some nice maple that I could resaw and sand to the right thickness for my sides rather than ordering and waiting longer for shipping. That turned out to be a great decision and was much cheaper. OK, now I am really ready to start bending. It was Friday night and I didn't have anything to do so I started with the short practice pieces and soaked one side in hot water for about 30 minutes. While the wood was soaking I clamped the bending iron to my work table and turned on the iron and set the temperature to 6, the recommended setting. I started bending at the waist as suggested and found after a few seconds on the iron with a lot of sizzling and popping the wood started to relax and I was able to bend it. I worked for a little over an hour and had difficulty in getting the tight curve at the waist. I decided to stop and start on the real thing the next morning. With the new wood I had purchased I had an extra side so, surely I could get two good bent sides out of the three pieces of wood. I started on a Saturday morning about 9:00 am. I filled my trough with about 6 inches of hot water and put my new side material in to soak for the recommended 30 minutes. I began bending about 9:30 on my first side. I worked, and worked, and worked. At about 1:00 my daughter brought me a cheese sandwich, which I ate in about three bites and continued to bend. At 3:30, I was so tired and frustrated I quit in disgust! The problem wasn't bending -- I could bend the wood easily but I couldn't get it to stay bent. The wood also looked horrible by this time. It was scorched and almost a green tint from all the water. I clamped it in my solara, not my new holder, and used every spring clamp I had to make it conform to the right shape. I hoped that when it dried it would retain the correct shape. That evening after I had recovered my composure I started looking on-line for help and answers. I found a chat forum dedicated to luthier questions and techniques. One post was asking for help and advice with exactly the same problems I was having. He was using the same wood, maple and he soaked his wood for an hour before beginning. There were at least six immediate replies with the same advise.
Don't soak your wood! His response was exactly like mine. . . but the instructions said. . . Their response was unanimous,
I don't care what the instructions said, don't soak the wood. Use as little water as possible. Try a spray bottle and just mist the wood. Use an old wet towel and place it over your bending iron so the wood never touches the metal. The heat from the iron and the moisture from the towel make the steam and there is less chance of burning the wood. Sunday, I checked my clamped up piece and it had dried and it did retain the shape but it was so overworked it was fuzzy and worse it was twisted. I started over using the new technique on the last practice piece and it worked much better. I quickly decided to try the new technique on the last two pieces of maple. Between the new technique and clamping up the hot bent wood in my make shift mold I was able to get them bent.
Hooray!
 |
| Bending iron clamped on the work table. The template to check progress is behind. |
 |
| The pipe is thinner on the bottom for tighter curves. |
 |
| First failures. |
 |
| New technique with wash cloth. I thought the monogram added a touch of class. |
 |
| Bending! |
 |
| Trying to get the feel and technique down. |
 |
| Using the stainless strap to help retain the heat and moisture for smoother curves. |
 |
| Bending the tighter curve at the waist. |
 |
| Clamping the hot side into the mold. |
 |
| Clamped left side in mold. |
 |
| Clamped right side in mold. |
 |
| After the sides cooled and dried I was finally able to put them in my holder. |
|
What I learned, my first fears were indeed founded. It was harder than the books and videos make it out to be but with a lot of patience and the right techniques it is possible. Like most things the more you do the better you get. I will definitely build or buy solid molds for the drying forms for my next guitar rather than using the adjustable solara that I built for this one.