 |
| Finally it looks like a guitar! |


|
| Finally it looks like a guitar! |
 |
| Finished jig. |
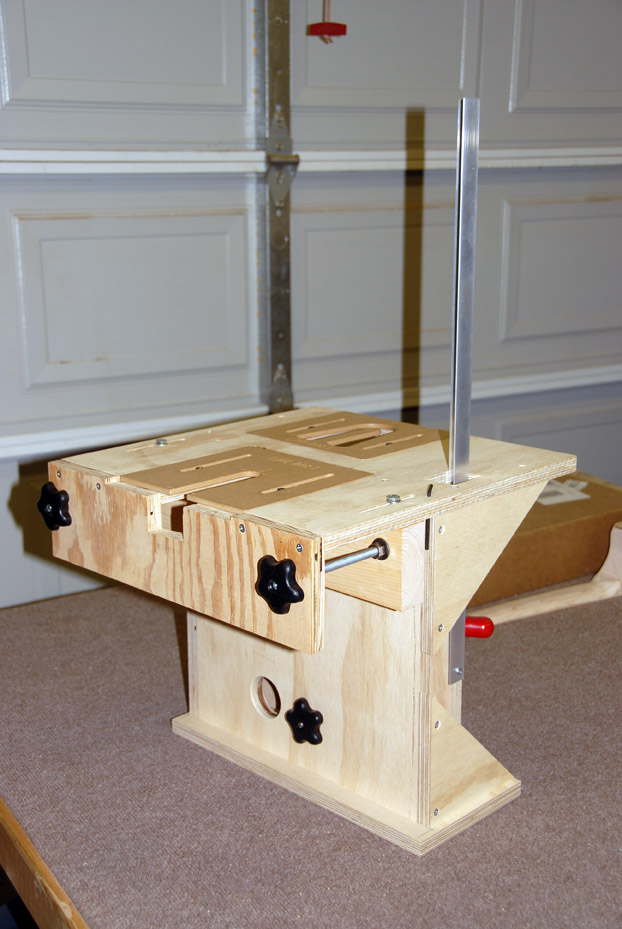 |
| Finished jig. |
 |
| Jig clamped to table showing neck clamped in position. |
 |
| Body clamped in position. |
 |
| Body ready to route mortise. |
 |
| Plunge router set for mortise. |
 |
| Mortise template |
 |
| Finished mortise. |
 |
| Neck set to route tenon. |
 |
| Router in position. |
 |
| Tenon template. |
 | ||
| Finished mortise and tenon. |