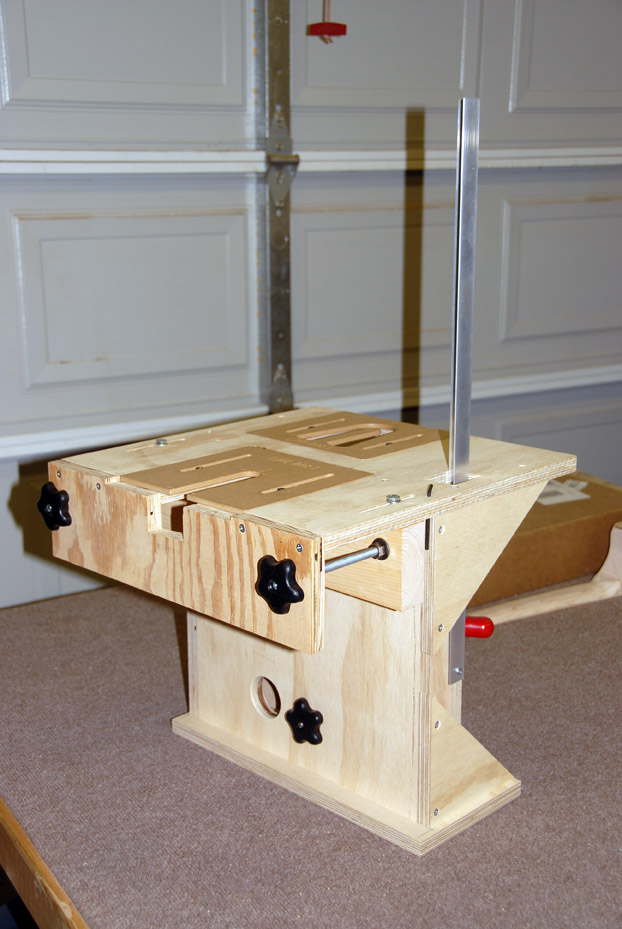
Monday, April 2, 2012

The Neck Joint

When I first started this guitar I decided to use a traditional dovetail joint to attach the neck to the body. I thought that was the preferred joint and the type that Martin Guitars used. If it was good enough for a Martin it should be good enough for me. As I mentioned early on in this blog the first book that I purchased did not match the plans that I was using. One of the biggest discrepancies in the book and the plans was the neck joint. The book advocated a Spanish Heel method of attaching the neck. This method does away with the traditional joint and attaches the neck to the soundboard by gluing before the body is closed. Since I had never heard of this method and what minimal research I had done at this point indicated this method was usually used in classical guitar construction I decided to buy a new book. I then started researching different types of neck joints. I discovered that more and more luthiers were going to the bolt on mortise and tenon neck rather than the dovetail. I found one article that said even Martin had started building their guitars with bolt on necks. It did seem to be easier and once again if it was good enough for Martin it was good enough for me, so I decided to go with that method. The more I researched the more convinced I was but it appeared that the joint was going to be more critical than I had first thought. Keeping the joint straight and at the right angle for proper string height seemed to be so critical that I would need some sort of jig/template to get it right. I did internet research, watched youtube videos and looked at luthier supply catalogs. As with all the other problems I encountered there were many solutions. Some very simple and home made others relatively expensive. I decided that a jig designed by Robert O'Brian and distributed by Luthiers Mercantile International (LMI) was the best bet. So, I dug in my pockets one more time and ordered the kit and instructions. The kit supplied the instructions and parts, I had to supply the wood. It took me several days to build (remember I am part time, and slow.) I am very satisfied with the end result, a very nice and sturdy jig to route the mortise and the tenon.
Finished jig.


Finished jig.


Jig clamped to table showing neck clamped in position.

Body clamped in position.

Body ready to route mortise.

Plunge router set for mortise.

Mortise template

Finished mortise.

Neck set to route tenon.

Router in position.

Tenon template.
Finished mortise and tenon.


3 comments:

  1. Very nice. I have been down the same path that you describe but am so far hesitating to buy the O'Brian jig. Is there any difficulty in clamping a body with domed top and back in the jig and getting the correct alignment?

    ReplyDelete