Monday, March 19, 2012

Fingerboard

Realizing that I couldn't finishing shaping the neck until I finished and attached the fingerboard I started working on it. I cut an over sized blank out of 4/4 rosewood 3" wide and 22" long. On the band saw I split the blank into two 3/8" thick pieces. Using Matt's drum sander I took these down to 1/4". The finished finger board would be 18" long and tapered from 2.25" to 1.75". Remembering the problems I had with the neck when I tapered it to early, I left the blank square with straight sides. I then started marking the fret positions. This turned out to be a very tedious task. As you could imagine the frets had to be very precisely positioned or the guitar would never be able to be tuned accurately. The positions had to be accurate within 1/64". The first problem was to find a ruler that was at least 18" long and marked in 1/64" increments. I checked all of my rulers and 1/32" was the smallest increment of any that I had. I started looking to purchase one and couldn't find one locally. Matt to the rescue again! He had exactly what I needed. My vision is pretty good but I couldn't see well enough to measure and mark that small of an increment. Luckily my wife does a lot of sewing and needle craft and she had a large clamp on magnifying lamp. I couldn't have done this without that!
With the magnifying lamp I was able to see the correct position marks but I had a problem with marking them. No matter how sharp my pencil lead was it was to fat to accurately mark the positions. I resorted to an X-Acto knife with a standard number 11 blade that I could run down the engraved mark on the ruler and slightly score the wood.
Setting up the ruler at a 90 degree angle on the finger board.
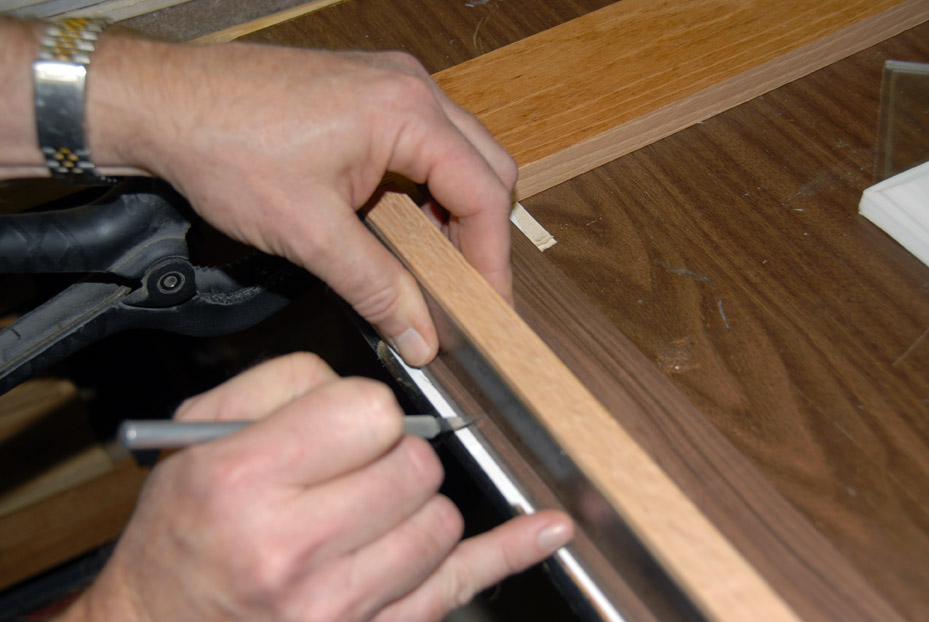
Marking the fret positions with an X-Acto knife.
Once I had the fret positions marked I was ready to start cutting the fret slots. I had purchased a fret saw from Stewart MacDonald. The saw came with a plexiglass depth stop. They also sell a miter box that goes with the saw and templates that would make cutting accurately positioned slots much easier but I decided to try make something that would work and save some money. Speaking of saving money, it didn't take long for me to realize that building a guitar was not going to save me money. One of the first questions I get asked is how much will it cost? The answer that I usually give to this question is that by the time this instrument is finished I could easily have purchased a very nice Martin but it's not about saving money it's about the experience! The second guitar will be much cheaper. . . and yes, I am planning another.
My homemade miter box, fret saw and slotted finger board.

Clamping the miter box and saw guides to the work bench.

Clamping left saw guide

Applying candle wax to the saw blade.

Making the cut.
After the slots were cut I marked the length and the taper and cut those using a table saw. The finger board was now ready to mount on the neck. I drilled 1/16" holes in the first fret slot and in the 10th fret slot. I installed the truss rod into the previously cut channel and covered the top of the aluminum with masking tape to keep glue from getting on the rod. I applied a thin coat of wood glue to the top of the neck and quickly pealed the masking tape off. I positioned the finger board on the neck and tapped in two 3/4" brads into the previously drilled holes to keep the finger board from slipping under pressure. I applied pressure by wrapping long rubber strips that I cut from a bicycle inner tube around the neck and finger board. I set the assembly aside to dry over night.
Brad inserted into small hole in slot to keep the finger board from slipping.

Second brad to keep finger board straight.
Applying pressure with rubber band strips.
Finishing tight wrap.
Removing brads after the glue has set.

After the glue set up I finished the shaping and sanding of the neck. At this point I started finishing the finger board by sanding a radius to the top. I purchased a sanding block with a 12" radius from Stewart MacDonald and used it to finish the top of the finger board.
Course 80 grit sandpaper was used to establish the radius.
A simple jig was used to keep the block at 90 degrees. A clamp was used as a quick handle.
finer grit sandpapers were used to finish the radius.

No comments:

Post a Comment