After the glue has dried I get my first look at the assembled top and sides. It's really starting to take shape. I have to admit I am getting pretty pumped about my progress. The next step is to trim and finish the overhang on the edges. For this I get to use a trim router and a laminate bit. I have cut and trimmed a lot of laminate with this setup but never any wood or wood veneer. I am a little concerned about chip out, so like most of this project I am prepared to take it slow.
 |
| First look at the glued top and sides. Notice the overhang of the top. |
 |
| Inside view showing bracing. |
 |
| Detail of bracing fit against kerfing. |
 |
| Attached top showing overhang. |
The assembled top and sides must go back in the Salera to hold it securely for the trimming process.
 |
| Top and sides in the Salera. |
 |
| The L brackets holding the guitar body in place. |
 |
| The Salera and body clamped to the work bench. |
The direction of the router cut is very important to reduce the chance of chip out. I took it very slow, maybe a little to slow as you can see from the burn marks, and managed to get by with only one very small chip out that will be hidden by the binding (edge treatment) that will be applied later.
 |
| Trim router removing the overhang. |
 |
| Detail of router. |
 |
| Trim bit showing the bushing guide. |
After the top overhang was removed a little hand sanding was all that was necessary to smooth out the edges. The next step is to prepared the back edges of the sides in preparation to attach the back. Remember the back sides are not flush with the end blocks, so quite a bit of material needs to be removed, especially on the top or neck of the guitar. The bottom of the sides were somewhere between an 1/8" and 1/4" high, while the top was over 1/2" high. This material needs to be removed so the end blocks are flush with the sides and there has to be a smooth arcing transition from top to bottom. After thorough research in all of my books I realized there were a variety of ways to go about removing this material. Some of the books suggested removing the bulk with a band saw others recommended using chisels and then finishing with the sanding board using a rocking motion to get the final finished arc. The amount I needed to remove was considerably less than all of the books, so I decided to try it with the sanding board only. It seemed to me I would have more control although it would take longer. I was in no hurry so. . . The first thing was to draw a guide line to follow while I was removing the material. I measured down on the outside the appropriate distance on both ends. Then calculated a couple of mid points and drew tick marks. I used a flexible rule to connect all the marks and drew a line.
 |
| Pencil guide lines. |
 |
| Guide lines at the waist. |
 |
| Guide lines at the neck. |
Then I started sanding and sanding and sanding and sanding. . . It too k a while but I was able to control the transition and ultimately I was able to get a great fit.
 |
| Using the sanding board in a rocking motion. |
 |
| Detail showing under side. |
 |
| Using the board to check for flatness. |
An added advantage to using the board was being able to check flatness at the ends. While the board was at an angle if I could see daylight I knew I needed to take more material off at that angle. Once I was satisfied with the arc and was sure the sides were at the right height, I was ready to trim the braces on the back and apply the kerf lining to the sides in the same manner I used on the top.
 |
| Trimming braces to length with a dovetail saw. |
 |
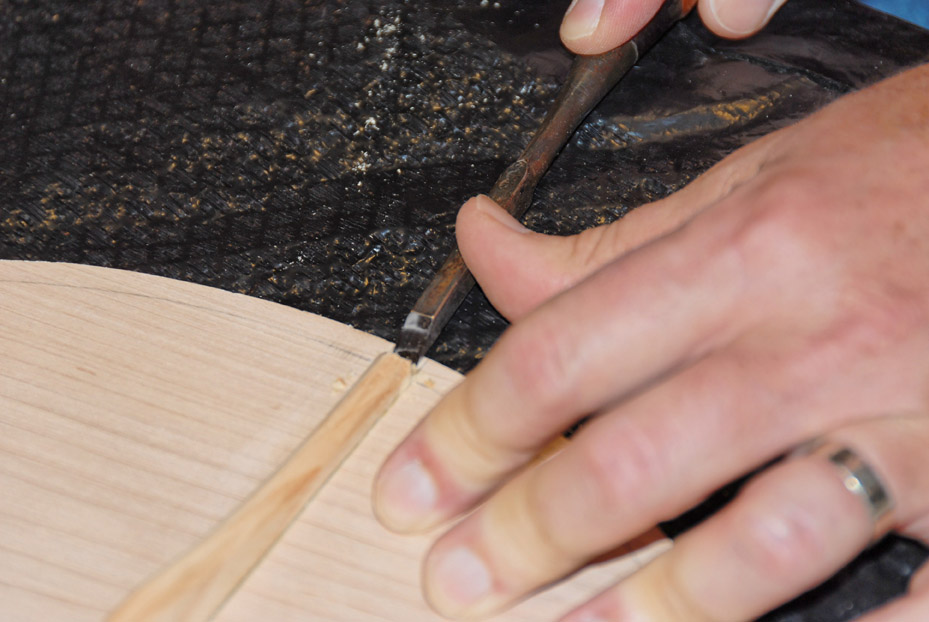
| Using a chisel to remove cut ends. |
 |
| Refining the brace shape with a chisel. |
The body was placed back in the Salera in preparation to glue the back in place. Once the back is glued on I would no longer have access to the inside of the guitar, so at this point I signed and wrote a simple message. Similar to signing a painting or dedicating a ship on its' launching. This was a little silly but it felt very important. I think in lieu of champagne, Matt and I went and had a beer.
Glue was applied and like the top the spool clamps were used to hold the back in position while the glue dried.
After the glue dried, I took the "Closed Box" out of the Salera and marveled at its' beauty. Like before I trimmed the overhang off the back with the trim router and finished with some hand sanding. WOW, it really is a guitar! Even though I had been working on this for several months, and I always had faith that I could do it – its' really a guitar! I'm amazed – its' really a guitar!
AND NOW SOME SERIOUS AIR GUITAR!!!


No comments:
Post a Comment